Five Minutes, One Valve: The Annual Shut-Off Rehearsal Every British Home Should Diarise

Photo: brass stopcock valve under kitchen sink plumbing pipes UK home, via www.zintilon.com
The most overlooked piece of safety equipment in Britain
Ask a homeowner where their smoke alarms are and most will point to the ceiling without hesitation. Ask where the stopcock is and the answer is frequently a shrug, a guess, or a confident wrong turn towards the airing cupboard. For a device that can prevent thousands of pounds of water damage in a matter of seconds, the main isolating valve receives remarkably little attention.
This is not a criticism of individual householders so much as an observation about how water systems are designed and handed over. Boilers are commissioned, alarms are tested, and consumer units are labelled. The stopcock, by contrast, is usually left exactly where the plumber found it, tucked beneath a sink behind a bag of cleaning products, and is only ever disturbed in an emergency — which is precisely the moment it is most likely to be stiff, buried, or forgotten.
An annual drill changes that. It costs five minutes, needs no tools beyond a cloth and a marker pen, and pays for itself the first time a flexi-hose fails at two in the morning.
Why detection alone is not enough
Homes installing smart leak detection in 2026 often assume the problem is solved. Automated shut-off valves, flow-pattern analytics and app alerts are genuinely useful technologies, and AquaSentry UK has written at length about their value. But every one of those systems depends on something outside its control: a working mechanical isolation point, and a household that knows how to use it if the electronics are unreachable.
Consider the realistic failure modes. The hub loses power or Wi-Fi during a storm. The automatic valve motor jams after years of limescale. The alert fires while you are away and the person checking on the property cannot find the incoming main. None of these scenarios is exotic, and all of them are resolved in seconds by a person who knows where the stopcock is and can turn it.
Treat the drill as the manual override for the whole system — the physical baseline beneath the digital layer.
The five-minute drill, step by step
1. Locate the incoming main
In most UK homes the internal stopcock sits under the kitchen sink, on the rising main where it enters the property. Alternatives include a downstairs cloakroom, a utility room, or — in older and converted properties — a cupboard in the hall or beneath the floorboards near the front wall. Flats frequently have a shared or externally mounted isolating valve, sometimes in a communal riser or an outside chamber.
Find yours by tracing back from the kitchen cold tap, or by asking the water company if the supply point is not obvious. If you have an outside meter box, note that the boundary valve there is the water company's responsibility; the one to practise on is the internal one.
2. Label it, and label the ones beside it
Once located, make it findable under pressure. Clear the cupboard, attach a small laminated tag reading "MAIN WATER STOPCOCK — TURN CLOCKWISE TO CLOSE", and add a photograph of the location to a shared family album or note on the household phone. A short written note inside the consumer unit or beside the boiler also helps anyone unfamiliar with the property.
3. Operate the valve
Turn the stopcock fully clockwise to close, then fully anticlockwise to reopen. Do not force it. If it will not budge, or if it turns without any change to the flow at the kitchen tap, book a plumber — a seized or passing valve is a latent defect that should be rectified now rather than during an emergency. While the water is off, watch for drips at the gland; a slight weep on reopening is common, but persistent moisture indicates a worn valve that needs replacing.
4. Test the secondary isolation points
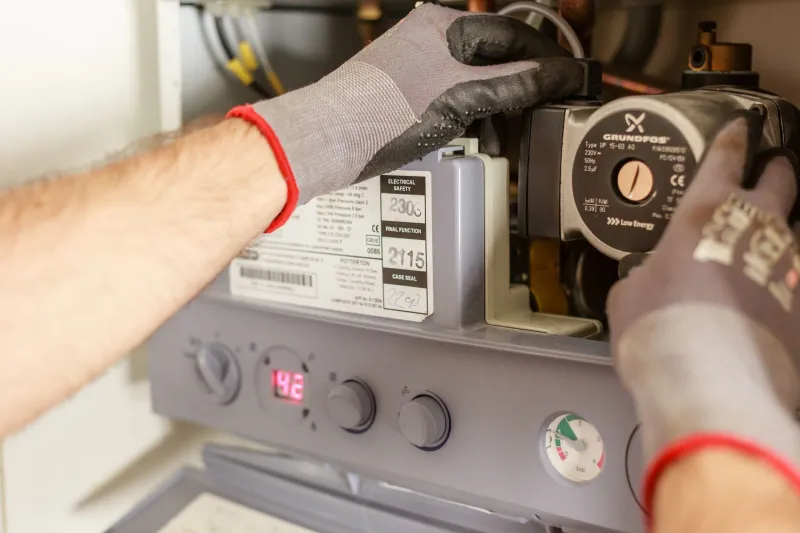
Most UK homes contain a handful of smaller isolation valves: beneath each toilet cistern, on the washing machine supply, on the outside tap, and often on the feed to a combination boiler or unvented cylinder. Turn each a quarter-turn and back again to confirm it is not stuck. For the hot water cylinder or combi boiler, check the pressure gauge after the drill — reheating a partially drained system can shift readings — and consult the manufacturer's guidance if anything looks amiss. Insulate any exposed pipework in cold lofts or garages while you are up there.
5. Rehearse it with the household
This is the step most people skip, and arguably the most valuable. Have every adult in the house locate the stopcock themselves, turn it, and turn it back. Show older children where it is. If you employ a cleaner, dog walker or carer, add the location to their briefing. Pinning a simple schematic — kitchen sink, stopcock, meter, boiler — inside a cupboard door takes ten minutes and removes the guesswork for anyone else who might need it.
Putting it in the diary
Choose a fixed date and stick to it. The first weekend after the clocks go back works well, since it coincides with other seasonal maintenance and lands before the coldest months. Add a recurring reminder, and note in it the three things worth checking: valve operation, boiler pressure, and outdoor tap condition before the first frost.
Households with smart shut-off should run the drill alongside a quarterly test of the automated valve itself, so that the mechanical and the digital routes are known to work independently of one another.
The case for a small habit
A five-minute drill will not impress anyone at a dinner party. It will, however, mean that when a pipe gives way or a washing machine hose splits, the response is calm, immediate and effective — rather than a frantic search through cupboards while water spreads across the floor. In a country where escape of water remains one of the most common and most expensive causes of home insurance claims, that is a modest investment with an unusually reliable return.
The stopcock has earned a place in the annual routine. Give it five minutes, and it will give you considerably more when it matters.